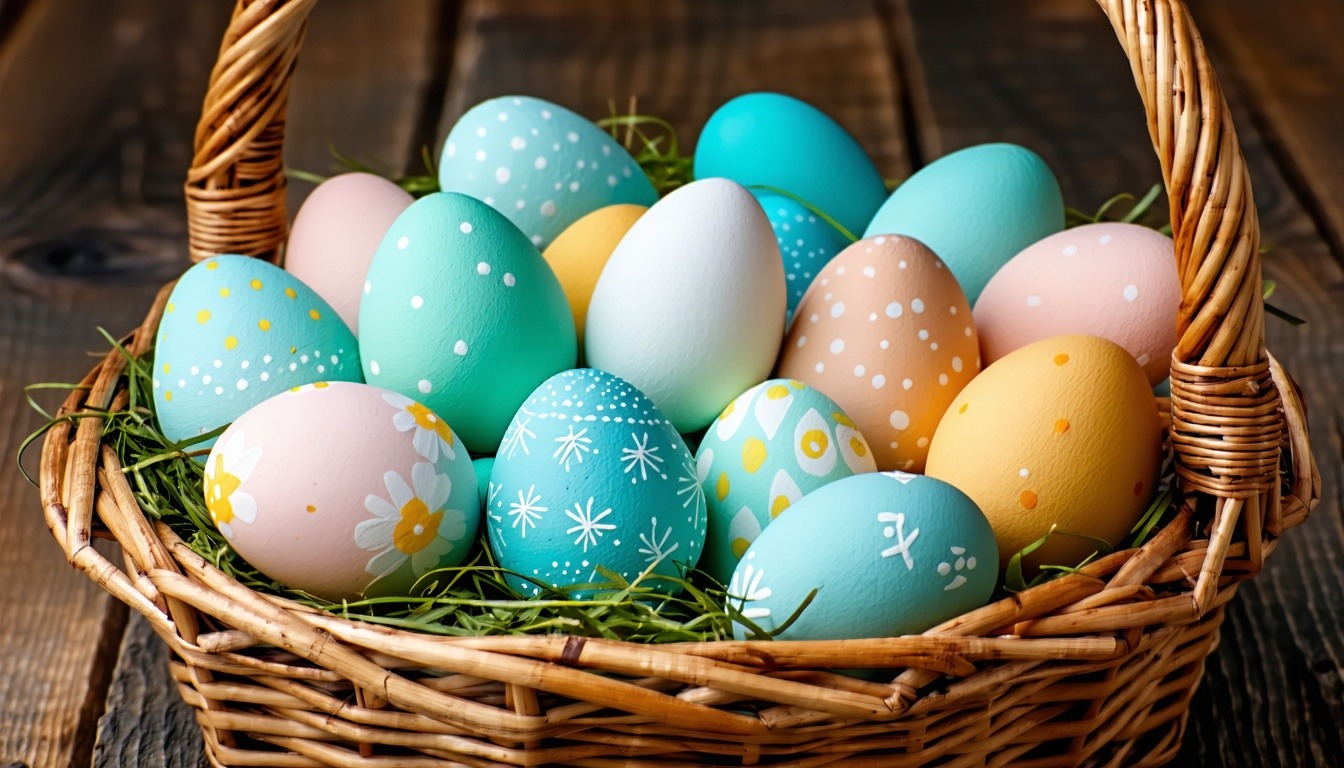
Create Stunning Easter Eggs with Natural Dyes

Discover the vibrant world of
 naturally dyed Easter eggs with these eco-friendly and safe methods, perfect for a fun and creative holiday activity.
Why Choose Natural Dyes for Easter Eggs?
Natural dyes offer a safe, eco-friendly alternative to artificial dyes, making them perfect for family activities. They reduce exposure to synthetic chemicals, which is especially important for young children.
Using natural dyes also allows you to experiment with various plants and spices, making the process not only creative but educational. It's a wonderful way to teach children about nature and the environment.
Essential Ingredients for Natural Dyeing
To make natural dyes, you'll need a variety of common kitchen ingredients. Some popular options include red cabbage (blue), turmeric (yellow), beets (pink), and onion skins (orange).
"Lorem ipsum dolor sit amet, consectetur adipiscing elit. Duis accumsan velit sit amet sagittis malesuada."
You will also need white vinegar, which helps the dye adhere to the eggshells, and cups or jars to hold the dyes. Ensure you have enough hard-boiled eggs ready for dyeing.
Step-by-Step Guide to Dyeing Easter Eggs Naturally
Step 1: Prepare the dyes. For each dye, combine 1 cup of water with the natural ingredient (e.g., 1 cup chopped red cabbage) and bring to a boil. Simmer for 30 minutes, then strain the liquid into a jar. Add 1 tablespoon of vinegar to each jar.
Step 2: Submerge the hard-boiled eggs in the dye jars. The longer you leave the eggs in the dye, the more vibrant the color will be. For light colors, soak for about 30 minutes; for deeper colors, soak overnight.
Step 3: Remove the eggs from the dye and let them dry on a rack or paper towel. Handle them carefully to avoid smudging the colors.
Creative Techniques for Unique Egg Designs
To create unique designs, you can use a variety of techniques. Try wrapping eggs with rubber bands before dyeing to create stripes, or use leaves and flowers to create natural imprints by securing them against the eggs with old pantyhose.
For a marbled effect, add a few drops of vegetable oil to the dye before submerging the eggs. This creates beautiful, swirling patterns that make each egg one-of-a-kind.
Drive people to your products and services
Lorem ipsum dolor sit amet, consectetur adipiscing elit. Nullam tempor arcu non commodo elementum.
Tips for Storing and Displaying Your Naturally Dyed Eggs
Once your eggs are dyed and dried, store them in the refrigerator if you plan to eat them later. If they are purely for decoration, you can leave them at room temperature.
Display your beautifully dyed eggs in a basket filled with shredded paper or grass. You can also use egg cups for an elegant presentation, or create an eye-catching centerpiece by arranging them on a cake stand.
what is this area?